
Monday, December 31, 2012
Saturday, December 1, 2012
Creations and Inspirations
 | |
| Headband with big flower and chains |
 | |
| Mixed and Match Necklace |
 | |
| Kilt pin earrings with glass beads and turquoise beads and wire wrapping | caption |
 | |
| Coil Bracelet made with copper wire and turquoise beads. |
 | |||
| Memory Wire Creation |
 | |
| Wire Wrapping |
 | |
| Sliders and Chains |
 | |
| Metal Leather and Slider |
 | |
| Leather Charms and Paper |
 | |
| Cuff Leather and Charms |
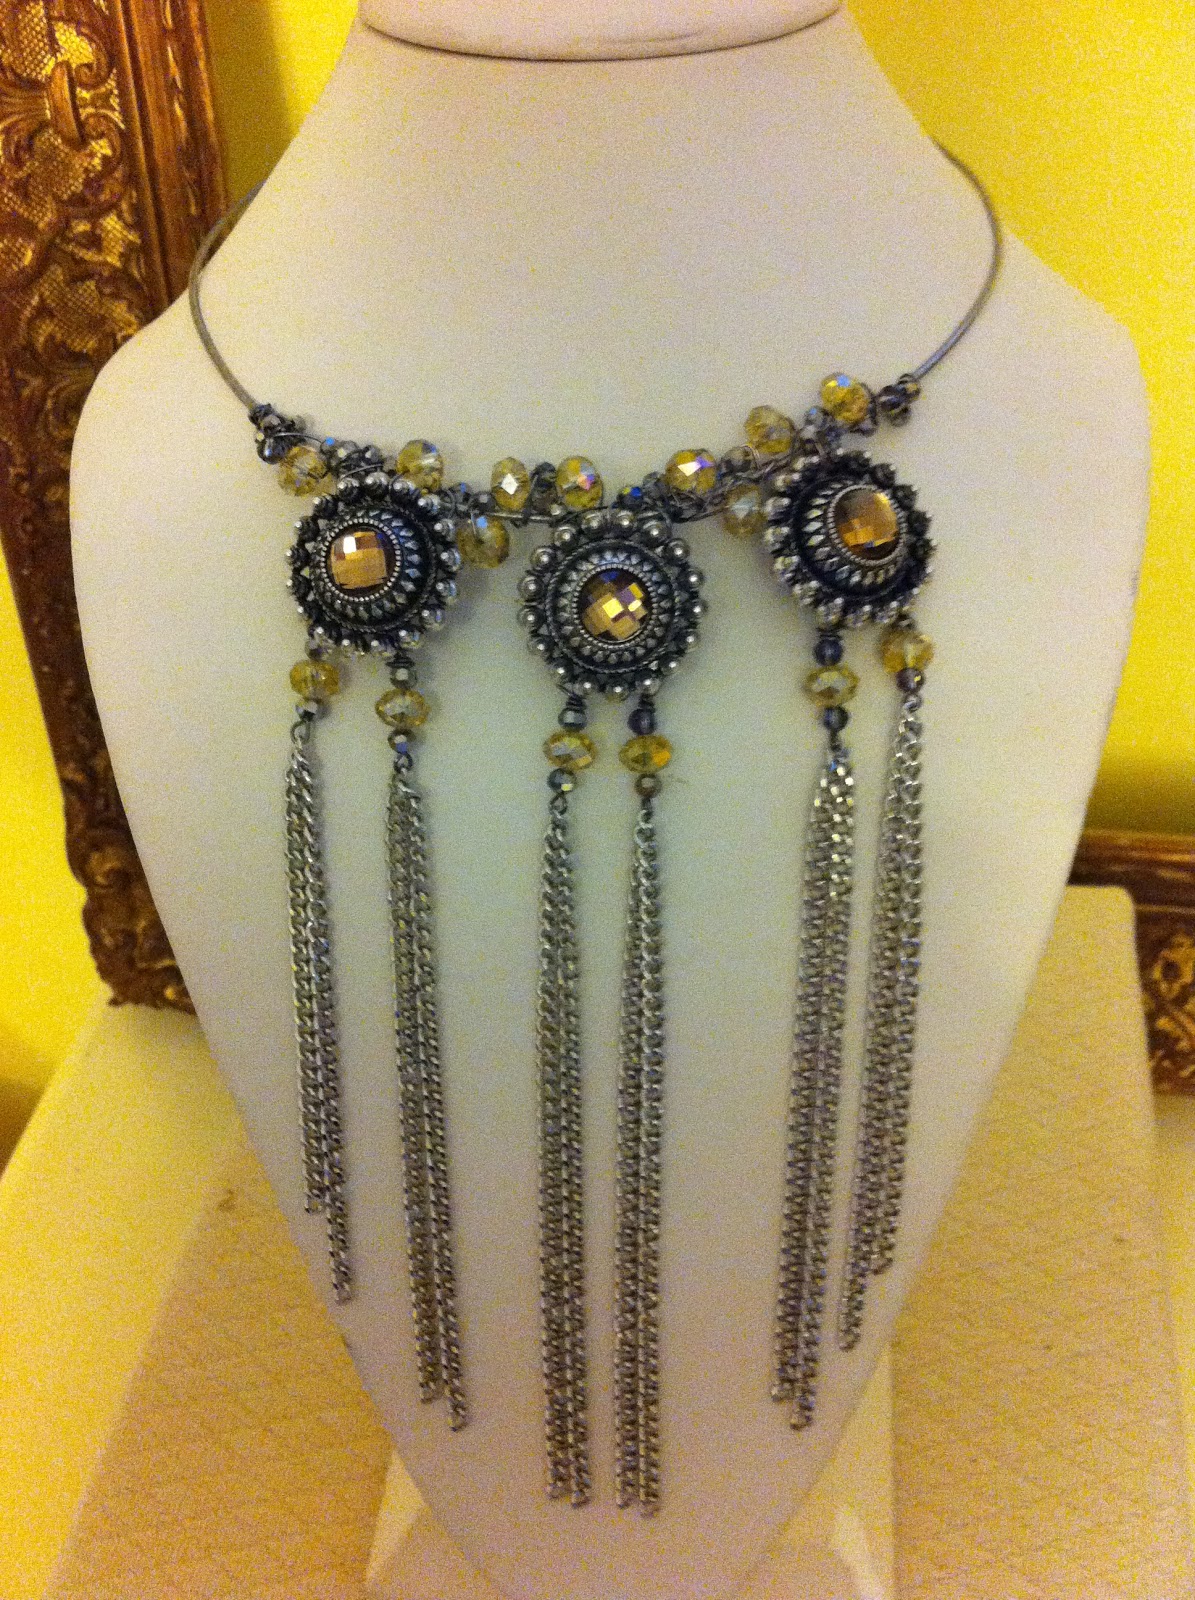 | |
| Choker with Slider and Chains |


Friday, September 7, 2012


Saturday, September 1, 2012
Halloween 2012 Lets Celebrate
 | |
| Halloween Decorations |
 | |
| Halloween Decorations Ideas |
 | ||||
| Halloween Decorations Ideas |
Sunday, August 19, 2012
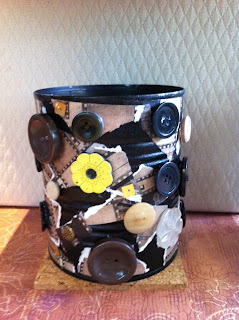
Lets Use That Can.....
I do lots of recycling in my town we have to recycle certain items like paper,metal,plastic and glass.Well at the of the week I am left with lots of cans,tomatoes sauce, beans and so on.What I is as I use whatever is in the cans I wash and rinse them let them dry and set them aside .Today I had an urge to paint and decorate 4 cans that I had collected during last week .My daughter is going back to school very soon and I wanted to make her pretty containers for her pencils or her hairbrush or her just to put flowers.This is also a very cheap and economical way of reusing and giving a second life to things we around our home.I added lace,buttons paper ,flowers and even duct tape to my cans.Let your imagination and creativity flow.
 Clean Dry Cans
 Materials
Directions for all four designs
I spray painted the cans using KRYLON indoor/outdoor spray paint ,this paint dries in about 10 minutes or less .Spray can inside and outside. let it dry and check missed spots and spray if needed.When dry decide if you want to decoupage your can ,if so then you need scrapbooking paper or any paper of your choice and cut into small uneven pieces.Take a foam brush and you now you are going to apply a water base sealer like MOD PODGE to the entire can, and start cutting paper into pieces and start placing on the can.Make sure that you also put the sealer on piece of paper this way it will have a better stick on the can.Continue until you have the desired design and at the end give a final coat of sealer to entire can,this will give a stronger bond. Lets the can dry for 1 hour them you can glue gun the buttons on.
If you choose the lace can just spread MOD PODGE all over the can and place lace and mold the lace around the can .If you have extra lace on top just spread some sealer inside the jar and press the lace around to mold into shape.Let the lace dry .When dry add flower, bow ,ribbon or whatever you like with a hot glue gun.
If you like to decorate with scrapbooking paper you are going to cut paper to whatever size you are going to use. Depending on size of paper you might just need one paper or maybe two.Now that you have your paper ready spread the sealer on can .When done put sealer on back of paper and start placing paper into can ,with your finger work the paper smoothing it getting rid of air bubble. Next spread sealer allover the can and let dry .When dry add decorations of choice
The duck tape design is the easiest one to do ,just buy a roll of duck tape and just tape on jar .Remember these tapes come in many fun colors and you will have plenty of extra tape that you could use for another project.
End results


Thursday, August 16, 2012
Dollar Frames All Dressed
 |

I bought these frames at an art and craft store .I payed a dollar for each,they come unfinished ,and are made out of wood.I had left over paint and ribbon from previous project .I always save any scraps of materials that I think could have a second life.I have been holding on to these frames for a while trying to figure what to do with them . Yesterday I was cleaning my craft draws and found the ribbon and flowers and here is what I made.These frames could be great to do projects with your children ,great for baby showers ,bridal showers ,birthday parties.or just a gift to your friends,but the best thing about them is that they are inexpensive.
These are the materials I used .
1.Frame
2.Flowers these are made out of paper you could use silk
3.Acrylic craft paint in color of your choice
4.Foam brush or regular brush ,I prefer foam because it leaves no hair on frame when painting
5.Ribbon
6.Glue gun to glue ribbon ,lace bow and flower
7.Scissor to cut ribbon
8.MOD PODGE to glue scrapbooking paper to frame
9.Scrapbooking paper of your choice to cover frame
10.Lace for bow
11.Flower flower of choice
DIRECTIONS
For white frame with black and white ribbon ,start by painting the frame ,let it dry .When dry glue ribbon with hot glue gun,then hot glue the small flowers.
For frame using scrapbooking paper ,place frame on scrapbooking paper and trace shape inside and outside
cut outside and inside ,then MOD PODGE on frame and on place paper frame over the wood frame.Press paper making sure you have no bubbles ,then add MOD PODGE over the frame and let dry.When dry glue lace bow then glue flower over bow and let dry.You are finished enjoy...
Remember you can decorate these frames in many ways using newspaper,magazines,wrapping paper,flowers shells beads,rocks.
Thursday, June 28, 2012
Bridal Shower Decorations


Monday, June 25, 2012
Bobbies ,Bobbies,Pretty on My Hair
Materials
Pack of bobbie pins from goody or whatever you like
E-6000 glue
Some Acrylic beads color of your choice
Ribbon
Enamel accents from Ranger black and white
Paint brush fine tip
Direction
1.Paint the bobbie pin with the Enamel accent using the color of your choice and let it dry.
2.Glue the acrylic bead or ribbon bow with E-6000 and let it dry.
3.If you like you could paint dots on the acrylic beads or leave just leave it plain and let it dry.


Wednesday, June 20, 2012
Stop Hold On To That Glass Jar


 In my family we eat a lot of Pasta Sauce my favorite is Tuttorosso,I can not eat any other sauce that's how good it is.I collect the empty jar and use them in my craft projects.Take a look at what I made today.Get inspire and lets get crafty. I use my for holding pencils ,brushes ,flowers ,kitchen utensil etc..
Materials Needed
twine- large roll
glue gun
glue sticks 2-3
scissors
flower of your choice
Direction
1. Start from top of jar mouth area ,glue twine to glass hold twine tightly .
2.Place more glue and continue wrapping around the jar but do not use glue on all of jar skip areas but wrap twine tightly as you go along .
3. When you get to the bottom of jar glue all around .This will hold the twine in place .
4. You are finished enjoy .


Subscribe to:
Posts (Atom)